Watch the video below...
GETTING STARTED
- From the homepage, select Projects.
- Select the project that you want to work on.
- Tap the + Add New Bord button.
- Add a board name.
MATERIAL SELECTION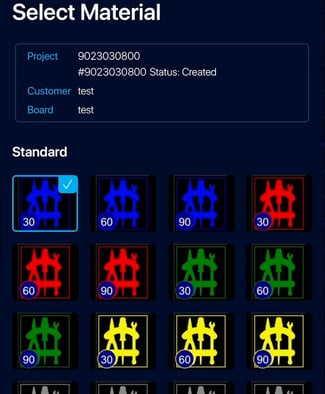
- Choose Standard for foam, or Plastic for your board material.
- Select the icon for your desired thickness and color.
- Input dimensions of your board in mm into the width and height sections.
- In the quantity section, type how many of these boards you want manufactured.
Any additional notes can be added in the Additional Info section.
ACCESSORIES
Tap Next. 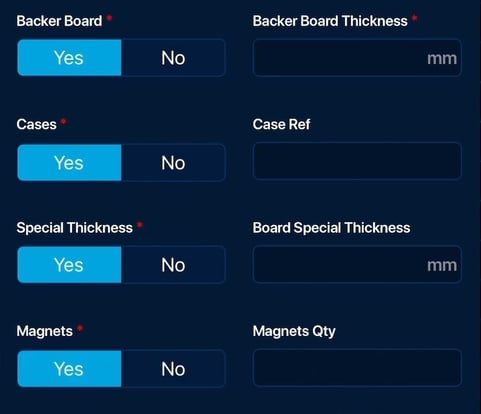
- Backer Board
- To add a backer board, select YES and select your desired thickness.
- Cases
- To add a protective case, select YES and type in the case model number.
- Material Thickness
- If you need a thickness that isn’t 30, 60, or 90 mm, select YES for Special Thickness and type in your desired thickness.
- If you need a thickness that isn’t 30, 60, or 90 mm, select YES for Special Thickness and type in your desired thickness.
Custom thicknesses must be smaller than the material thickness you selected on the last page.
- Magnets
- To add magnets to your shadow board, select YES and type in the number of tools that you want to be magnetized to the board.
CLEARANCE
For clearance, you can choose from 0, +1, +1.5, or +2 millimeters.

The most common option is Standard +1. This adds 1mm of clearance around each cutout to make it easy to insert and remove tools. This setting is recommended for boards that will be used on a flat surface, such as a tool drawer.
For more clearance and a looser fit, you can choose 1.5 or 2 millimeter clearance.
Clearance 0 does not add any clearance around the tools, which makes the tools press-fit. This is ideal for vertical applications, especially when combined with magnets. This option is only recommended for foam shadow boards, not plastic shadow boards.
HELP MEDIA

If you have Help Media, or are ready to take light panel photos, select Upload Media.
Otherwise, just select Skip Media and Save to save your progress and come back later.
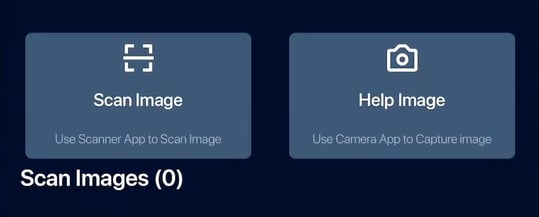
If you have a light panel and tools in front of you, select Scan Image, and move on to the next tutorial, which will cover How to Capture Scan Images.