Tool Placement:
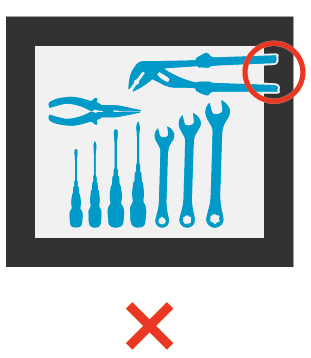
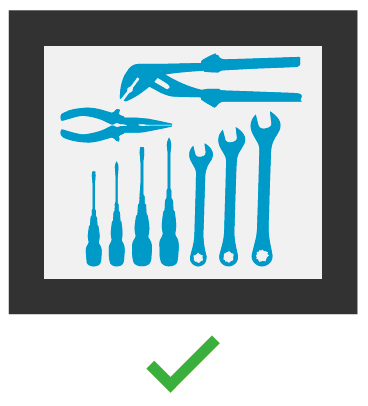
- Items must not overlap the frame of the light panel
- all items must be at least 1 inch away from the edge of the light panel
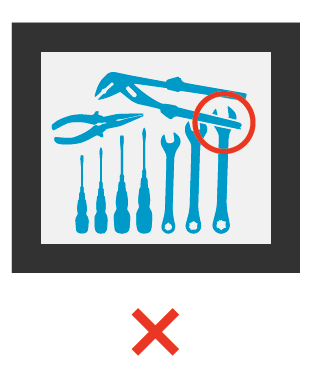
- Items must not overlap other items
- Items taller than 1 inch must be in the center of the light panel
- All tools in a board do not need to be in one photo. They can be separated into multiple photos if there is not enough room on the light panel for all of them.
- Items taller than 1 inch must be in the center of the light panel
- Putty or tape can be used to hold tools in place and edited out of the photo later
Camera Placement
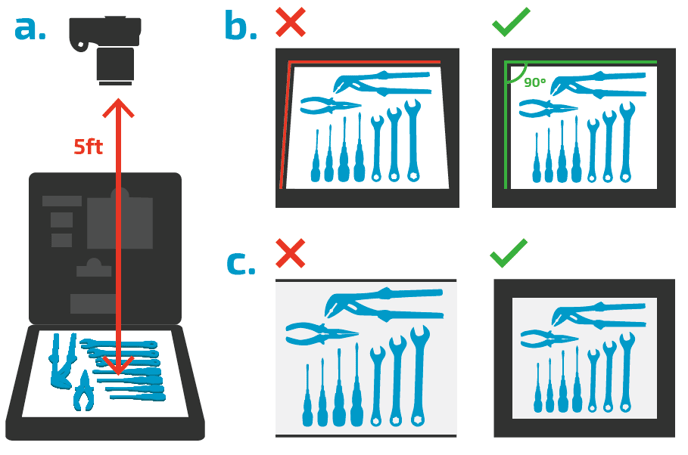
A. The camera should be approximately 5 feet above the light panel.
B. The camera should be level with the center of the light panel
-
- All four corners of the light panel should appear as 90 degree angles
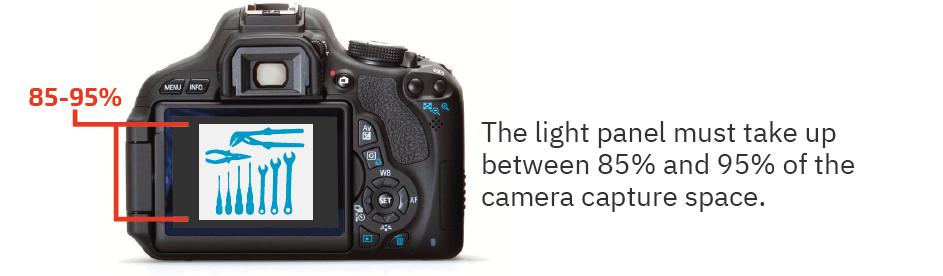
C. All four corners of the light panel must be visible
-
- the light panel must fill 85-95% of the camera screen.
Mobile App Users: directions may differ when capturing photos using a phone, but instructions will be given within the app.
Taking Photos
- Take more than one picture in case any issues occur.
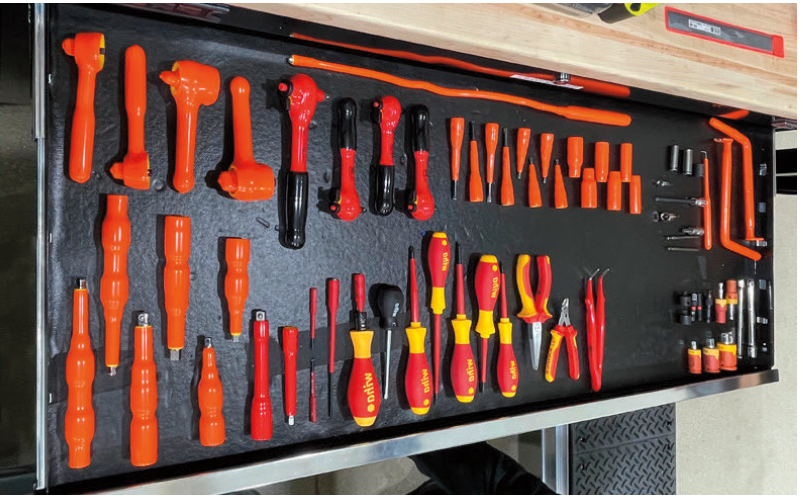
- Take candid's of the tools in their desired board layout
- Take a side angle candid photo for help information. This will help the designers with depth dimensions.
Quality Check
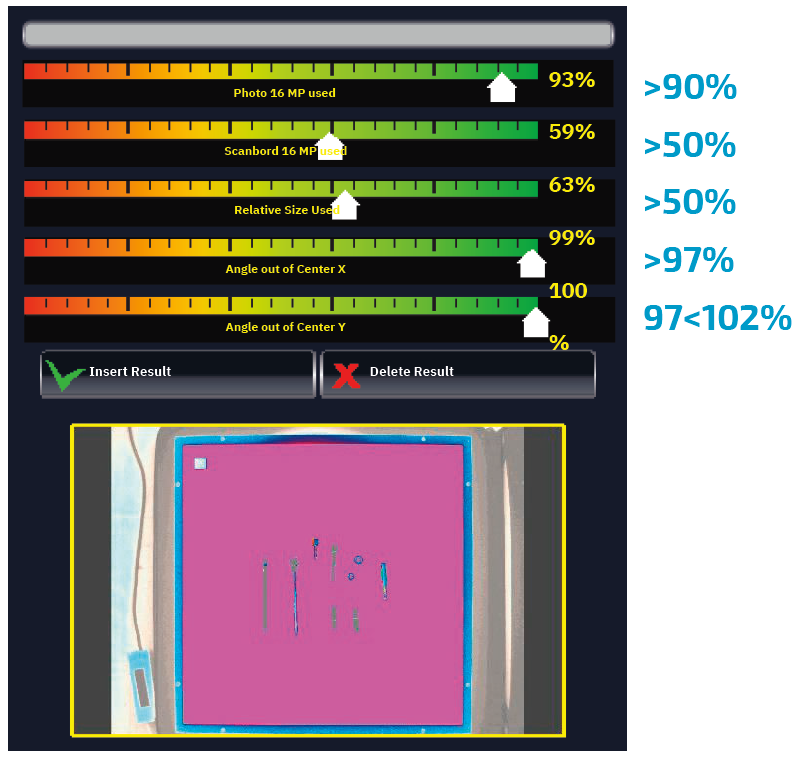
- Option 1:
- Upload the image to Blue Shadow and check the levels as seen below.
- Make sure your photo stays inline with the percentages shown.
- Option 2:
- Send the photo to OSAAP for a quality review
- send to techsupport@osaapamerica.com or your sales representative.
- Send the photo to OSAAP for a quality review