Video Tutorial:
Detailing Text and Logos within Blue Shadow
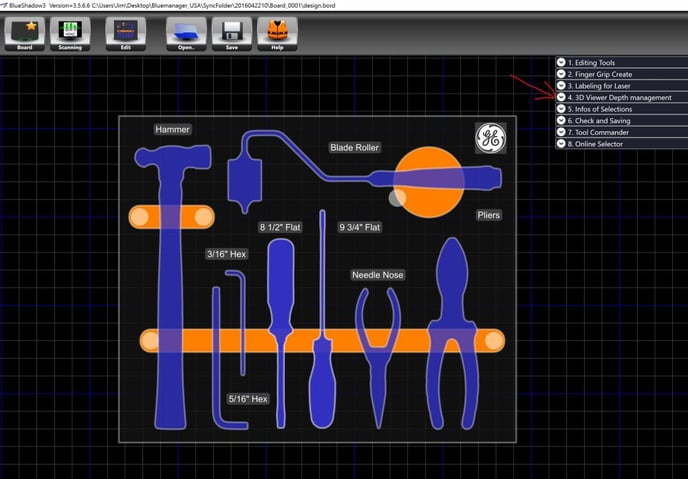
Editing Drop-Down 3: Labeling for Laser
Photos
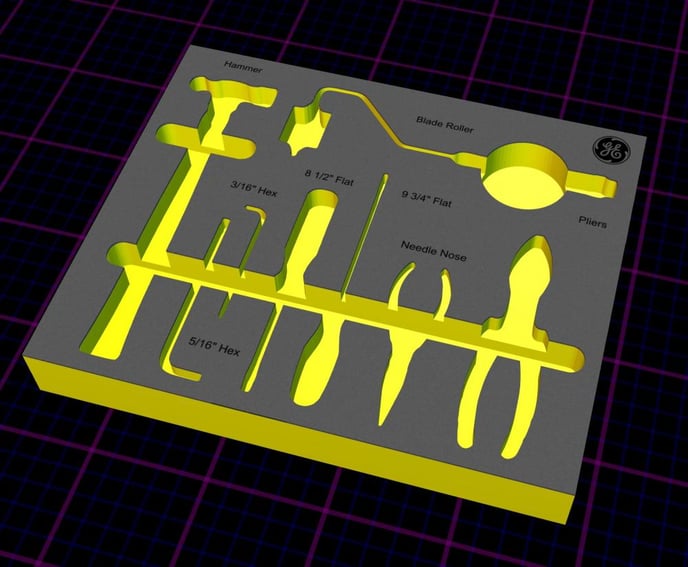
The first photo shows a 3D image of the text.
The second photo shows a foam layout design with text
The material you select for you project defines what type of text you use. Laser text is specifically for foam boards, and drill text is specifically for plastic boards.
In the photo below I have plastic selected as my material, as a result the laser text is unavailable.
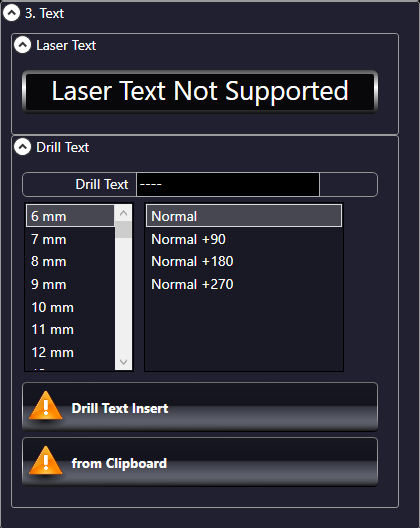
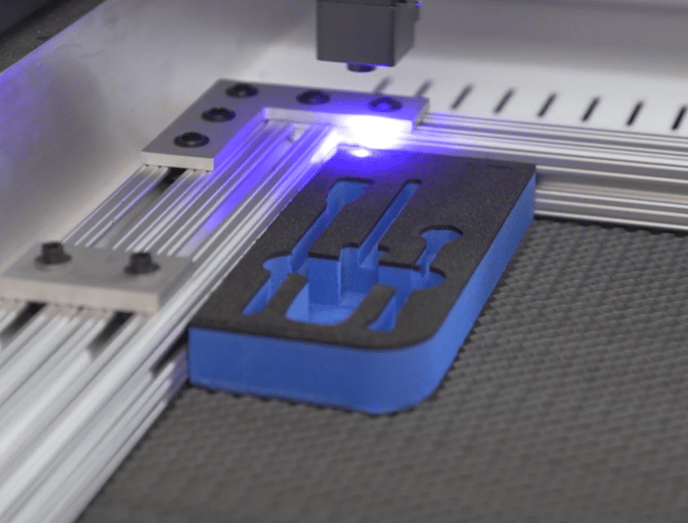
Laser Text (Foam)
Text is applied to the black top layer of foam with a laser on an X-Y gantry. Text and logos can only be applied on the top layer of the foam.
Drill Text (Plastic)
In order to successfully inscribe text onto a plastic board we need to use a drill. The drill bit for text on plastic boards is very small and precise. It creates smooth and crisp text onto its selected board.
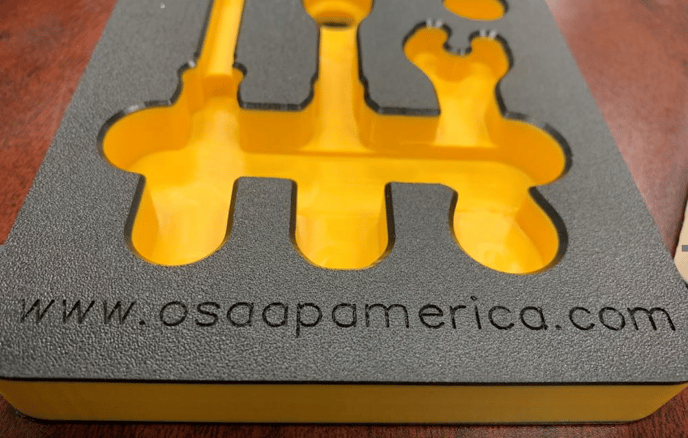
The Image below serves as an example for what drill text looks like on a plastic shadow board.